Showing posts with label sheer polish. Show all posts

Friday, May 22, 2015

fireworks for TGIF


So I have issues with looking at this thing, called a calendar. When I made the May #TGIFnailartchallenge prompts, I just assumed the May long weekend would be closer to the 24th so today's prompt is "Fireworks" despite the Canadian holiday actually being last Monday. Duh. 

Anyways, this was pretty quick to do, although its one of those "looked better in my head" manicures. 


Products Used
China Glaze Up All Night
Sally Hansen Hi-Ho Silver
OPI Sheer Tints Be Magentale With Me
OPI Sheer Tints Don't Violet Me Down
OPI Sheer Tints I Can Teal You Like Me
essie Good to Go TC


I did however love the use of sheer tints over the silver hand painted fireworks, changing up the colour of 3/4 of the nails for a varied look. 


Happy belated Victoria Day and happy Memorial Day to my American readers!

xo Shawna

Saturday, March 28, 2015

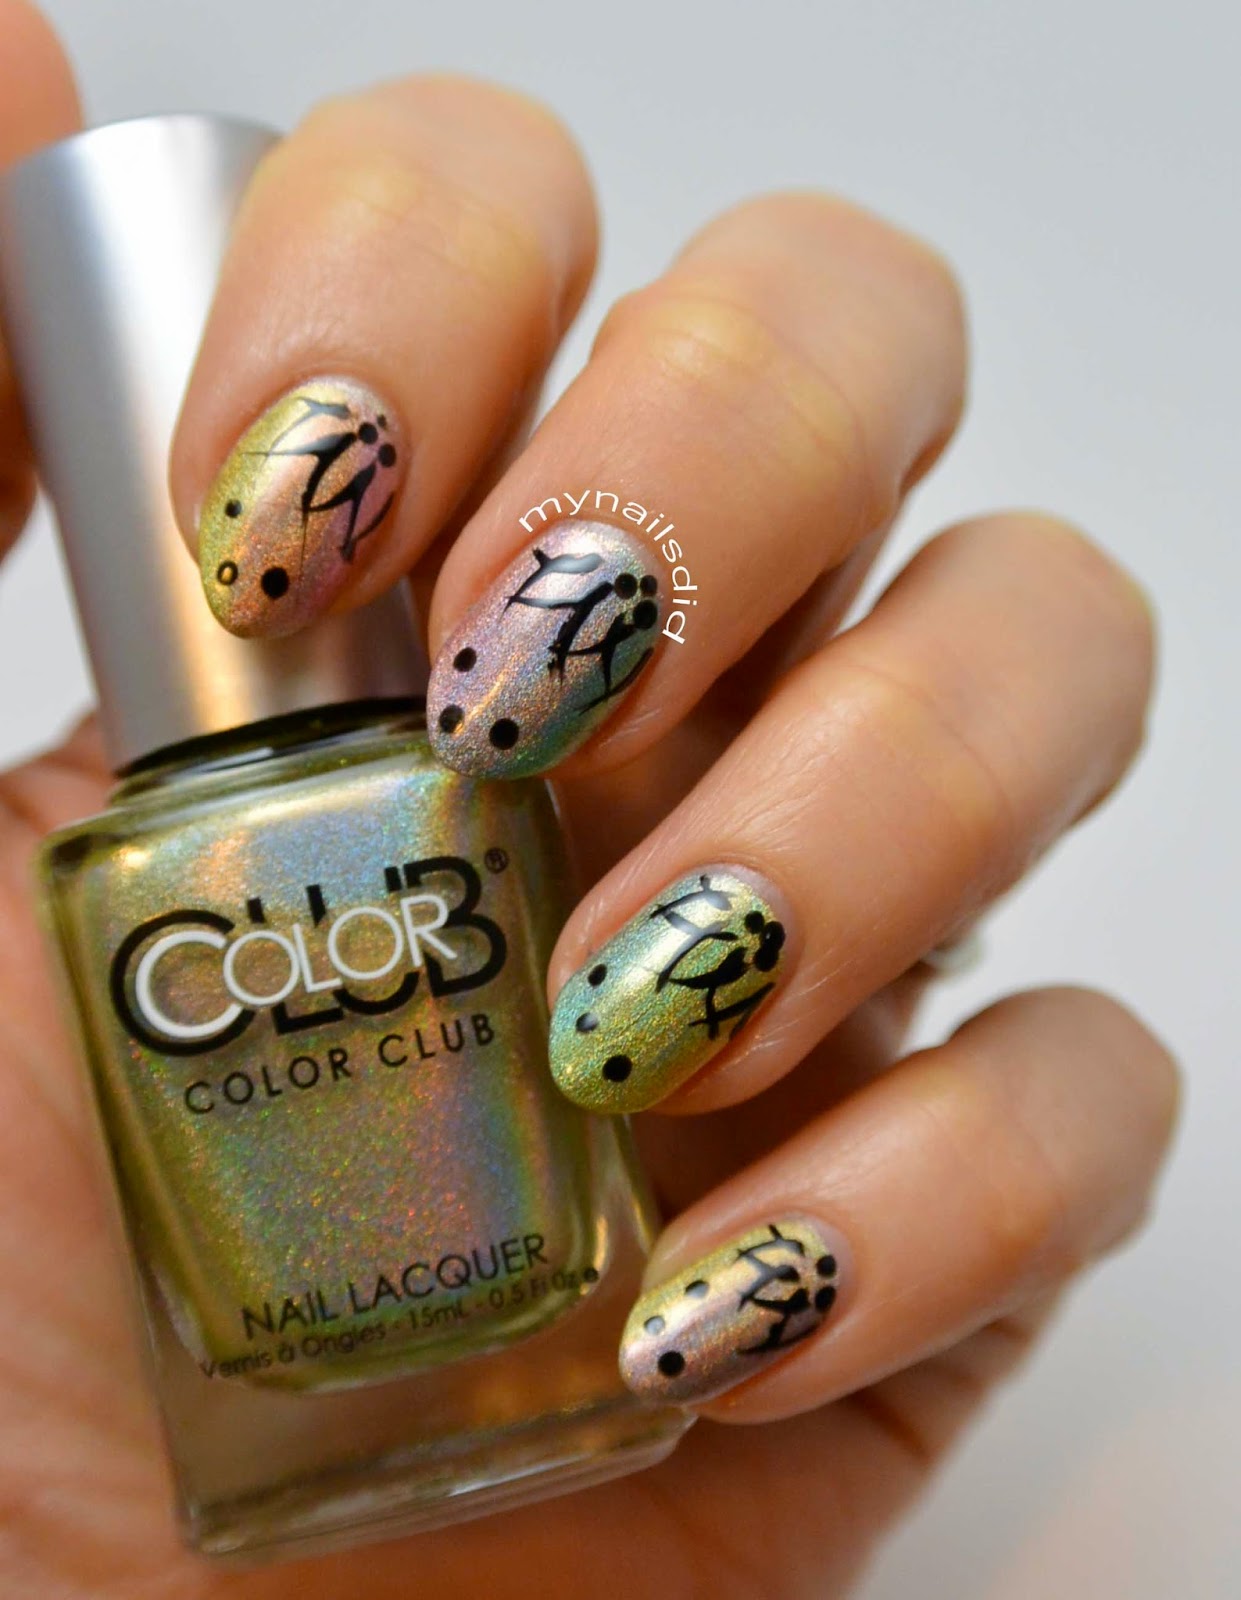
Sheer Holo Gradient Floral Mani

Is my post title long enough? I could have added a few more words to it but had to draw the line! Tonight a bunch of nail gals from the GTA (greater Toronto area, for you non-Ontarians!) met up for dinner and lots of nail chat and swapping! I knew my nails needed to be on point so I eventually settled on a holo faux-gradient with a splash floral design inspired by The Lacquerologist


Products Used
Color Club Kismet
Wet n Wild Black Creme
OPI Sheer Tints I'm Never Amberassed
OPI Sheer Tints Be Magentale With Me
OPI Sheer Tints Don't Violet Me Down
OPI Sheer Tints I Can Teal You Like Me
INM Out the Door Topcoat


What's a faux gradient you ask? After I laid down my holo base, I vertically overlapped two sheer tints on each nail- the overlap created a new in-between colour. Sponge-free and easy-peasy! I needed two coats of sheer tints to help the colours pop. 


Here's all the gals! Don't mind my giant face, we needed a selfie stick!


The waiter thought we were a little nuts. No room for food with all the polish up for grabs! A few of us brought our destashes to swap. 


Nails on fleek!


Um, yum. Totally not paleo. Every bite was delish! 


And lastly, me and my girl Sammy! I've raved over the product line, Cuter Cuticles. Check her out if you haven't already! I didn't even need to photoshop my pics today because her oils are so amazing! (I also purchased Unicorn Blood from Bree, and can't wait to rock it!)


What else do you do with your sheer polishes?
xo Shawna

Sunday, December 28, 2014

leadlight nails and tutorial

Hi guys! This is an exciting post for a few reasons. One, I finally tried the "leadlighting" technique which I've been wanting to do for a while (and specifically bought sheer polishes for!) and two, I introduce to you... video tutorials! They're just quickies, due to instagram time constraints, but let me know if you like them- I may do some full length tutorials in the future if there's a demand. So let me know in the comments if that's something you're interested in! Scroll all the way down for the videos. 


Products Used
Barry M Coconut (base)
Wet n Wild Black Creme
OPI Sheer Tints I'm Never Amberassed
OPI Sheer Tints Be Magentale With Me
OPI Sheer Tints Don't Violet Me Down
OPI Sheer Tints I Can Teal You Like Me
China Glaze Fast Forward Top Coat
Dotting Tools from Amazon
Stamping Plate Born Pretty 22 (coupon code SDPX31 saves you 10%)


I love the way this turned out, although it was a bit time consuming dotting on the polish. On the opposite hand I actually just painted blobs directly on with the brush. It's not as precise on the design, but it was quicker and still has a neat effect. You could probably achieve the same look by blobbing on the sheer polish before stamping if you aren't too picky about colouring inside the lines! 


Without further adieu... the video tutorials! 


So... yay or nay for future tutorials? Comment below!

xo Shawna


Images by Freepik